
Banweb Guide
Banweb Starter Guide
The following serves as a step-by-step guide for registering for classes using the online system called Banweb.
Step 1: Loggin In and Navigating
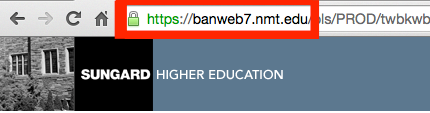
Go to banweb.nmt.edu
To access banweb, go to https://banweb7.nmt.edu/. Click on the link or the image below to access banweb in a new tab.
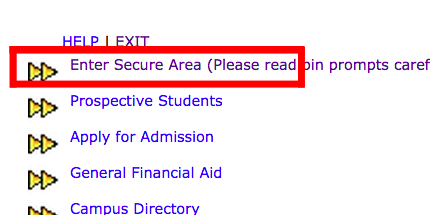
Click "Enter Secure Area"
You will be prompted to enter your student ID number and your Banweb PIN (NOT the same as your TCC/NMT email password).
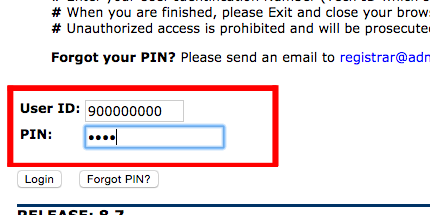
Enter your 900 Number and PIN
If you don't know what your PIN is, you can email the Registrar's Office.
Step 2: Using Your APIN to Register
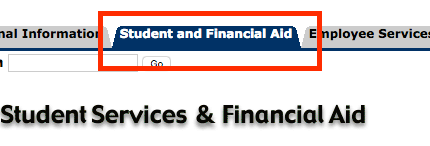
Click on "Student and Financial Aid"
This will take you to a page where you can apply, register, view records, and financial aid status.
Click on "Registration"
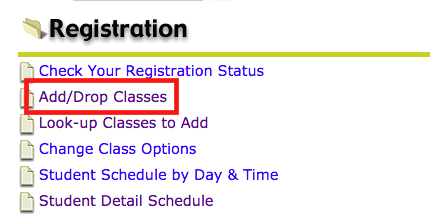
When you click on Registration, you will see a list of links identical to the image below. This is where you manage your registration status and your class grade options.
Click on "Add/Drop Classes"
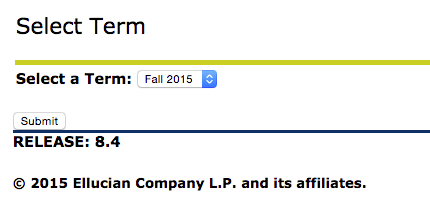
When the page loads, select the semester you wish to register for. Be sure you have your schedule planned out and make sure there are no time conflicts or conflicts with sections, pre and/or corequisites, as this will complicate the registration process.
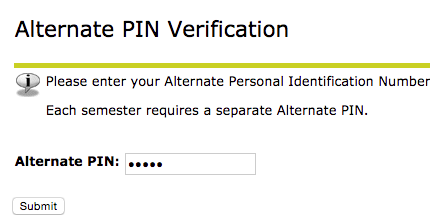
Enter your APIN
Your A-Pin is NOT the same as your PIN or your TCC password. Your A-Pin is generated by NMT and given to your advisor. You must contcat your advisor and review your planned schedule before they will give you access to your A-Pin. Be sure to have this done before registration day comes along, it will save you time and effort in the long run.
Step 3: Registration
Enter CRN's in the boxes, or search by clicking the "Class Search" button below.
If you know the CRN's (course registration numbers) of the classes you wish to register for (if you have looked up the classes prior to registering), you can enter the CRN's in the small text boxes and register for multiple simultaneously. If you don't know, you can search for a class with the navigation system below the text boxes.

If you clicked "Class Search", follow these instructions.
Once you click class search, you will be brought to a page with the following class subject list on it. Scroll through this list and select the subject of the class you wish to register for. For example: if you wanted to register for Physics 1 (Phys. 121), you would select Physics in this section. Once you have selected your class, click the "Course Search" button below to bring up a list of courses in that subject. Find the course and select "View Sections".

Once you select your subject and class, in this case Physics 1, a list of courses offered in that subject will appear.
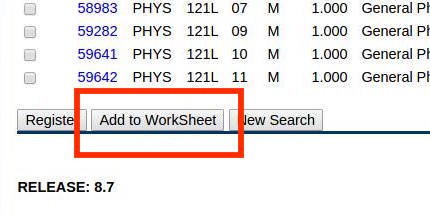
The courses are listed vertically. The columns relay information such as the CRN, the number of hours the course is, the course's name, and the date and time of the course. On the far left of the class, there is a checkbox. Find the class you wish to register for by checking the date and time and making sure it fits your schedule, then click the checkbox.

Submit the selected class by clicking "Add to WorkSheet"
Once you have selected the classes you wish to add to your registration list, click the button "Add to WorkSheet". This will add the CRN of the selected courses to the text boxes mentioned in an earlier step. You will be taken back to a page mentioned earlier, where you can click "Class Search" to begin the process again, or you can click "Submit Changes" to register for the classes you have already selected.
Now, you can register for your classes!